

If you have reasons to avoid updating your Windows 11 system, this article offers several methods to prevent updates. Additionally, you can discover a plethora of computer tips and tricks here as well.
- Disable Windows 11 Updates using Registry Editor.
You can also disable automatic updates in Windows by editing the Windows registry. You can do it by following some steps below. However, editing the registry can be risky. We recommend that you first create a backup copy of the Windows Registry. If something goes wrong, you can easily restore your computer’s registry settings.
- Open the Windows 11 Registry Editor by pressing Windows R and typing gpedit.exe in the Run dialog box. Also, you can move to HKEY_LOCAL_MACHINE\SOFTWARE\Policies\Microsoft\Windows\WindowsUpdate\AU in the left pane. To produce a new NoAutoUpdate value, right-click an empty area in the right panel and elect the New- A DWORD(32-bit) value. Set the new value to 1 by double-clicking it. Save the changes and renew your computer to apply them.
2. Use the Group Policy Editor in Windows 11 to disable automatic updates.
- For more precise control over automatic updates, if you have Windows 11 Pro or later, you can utilize the Local Group Policy Editor.
- To launch the Run dialog, press Win + R. Type gpedit.msc, then hit Enter.
- To access Windows Update, navigate to Computer Configuration -> Administrative Templates -> Windows Components.
- Simply double-click “Configure Automatic Updates” and select “Disabled.
- Click apply and OK and restart your PC for the update to be disabled

3. Use Windows Services to turn off Windows 11 auto updates.
typing Win + R will bring up the Run dialog in your PC.
Type services.msc and hit Enter.
Find the Windows Update Service.
Scroll down the Services pane to locate the “Windows Update” service.
Cut Off the Service:
Click “Windows Update” with a right-click, then choose “Stop.”
Disabling the Service (Selective)
Once more, right-click “Windows Update” and choose “Properties.”
Go to the “Startup type” drop-down option and choose “Disabled.”
Go to “Apply” and then select “OK.”
Restart your computer:
System restarts are frequently necessary for Windows Update service changes to take effect.

4. Pause Updates
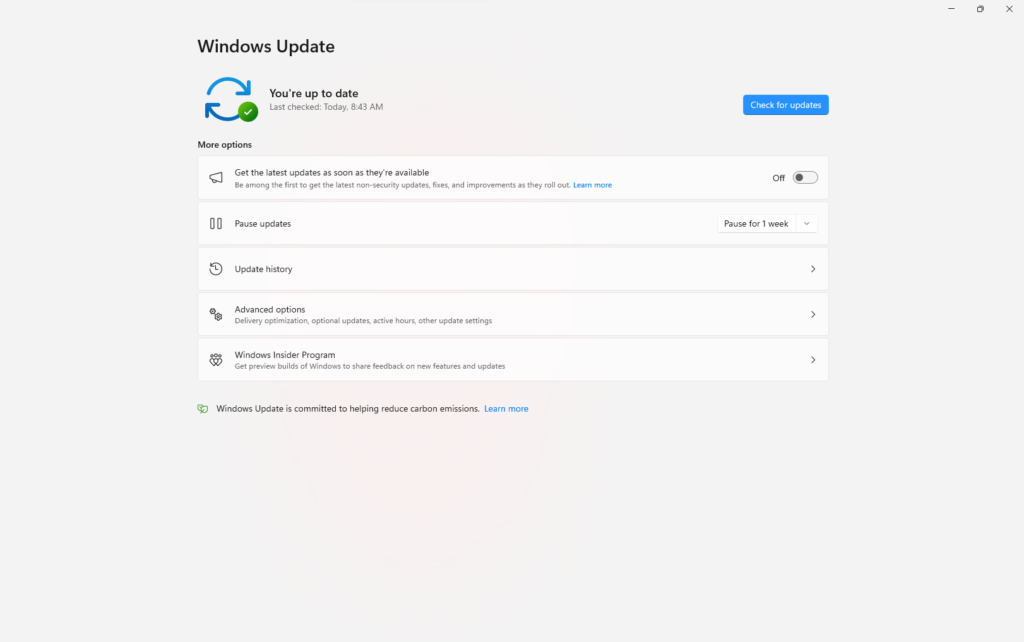
Microsoft provides a seven-day temporary postponement for the Windows 11 update. To do this, navigate to the Windows Update screen.
To go to the Windows Settings screen, press Windows + I or select Start -> Settings.
To view the Windows Update screen, click Windows Update on the left side. You can join the Windows Insider Program, check updates for Windows 11, examine update history, pause updates, change other update settings, and more on this screen.
Next to the Pause updates option, you have the option to click the Pause for 1 week button.
Conclusion
Remember that turning off automatic updates can expose your computer to several security threats. Generally speaking, streamlining your operating system is advised. However, remember to manually install updates on a regular base, If you want to temporarily disable updates.
When changing system settings, always do so with caution, especially if you’re working with complex options like the Registry Editor or Group Policy Editor. It would be better to ask an educated person for help or relate to Microsoft’s sanctioned instructions if you are unclear.
FIND MORE INFORMATIVE POST ON THIS LIFETECHSTYLE BLOG